Fast forward 6 years and we have a house with a great yard for gardening! I am literally starting from scratch so I want this blog to be a place where I can share my gardening adventures; ideas and tips for what works (and what doesn't!); and, if all goes well, share the meals we prepare with the veggies grown in our garden.
Like any good student, I began by reading websites and other blogs of gardeners. It seemed like everyone had a similar theme: a lot of time and effort can be saved if you start with a raised garden bed, more specifically a square foot garden. Intrigued, I downloaded a highly reviewed book called "All New Square Foot Gardening" by Mel Bartholomew for my Kindle and got to reading. If you do decide to garden, I highly recommend this book.
 | ||
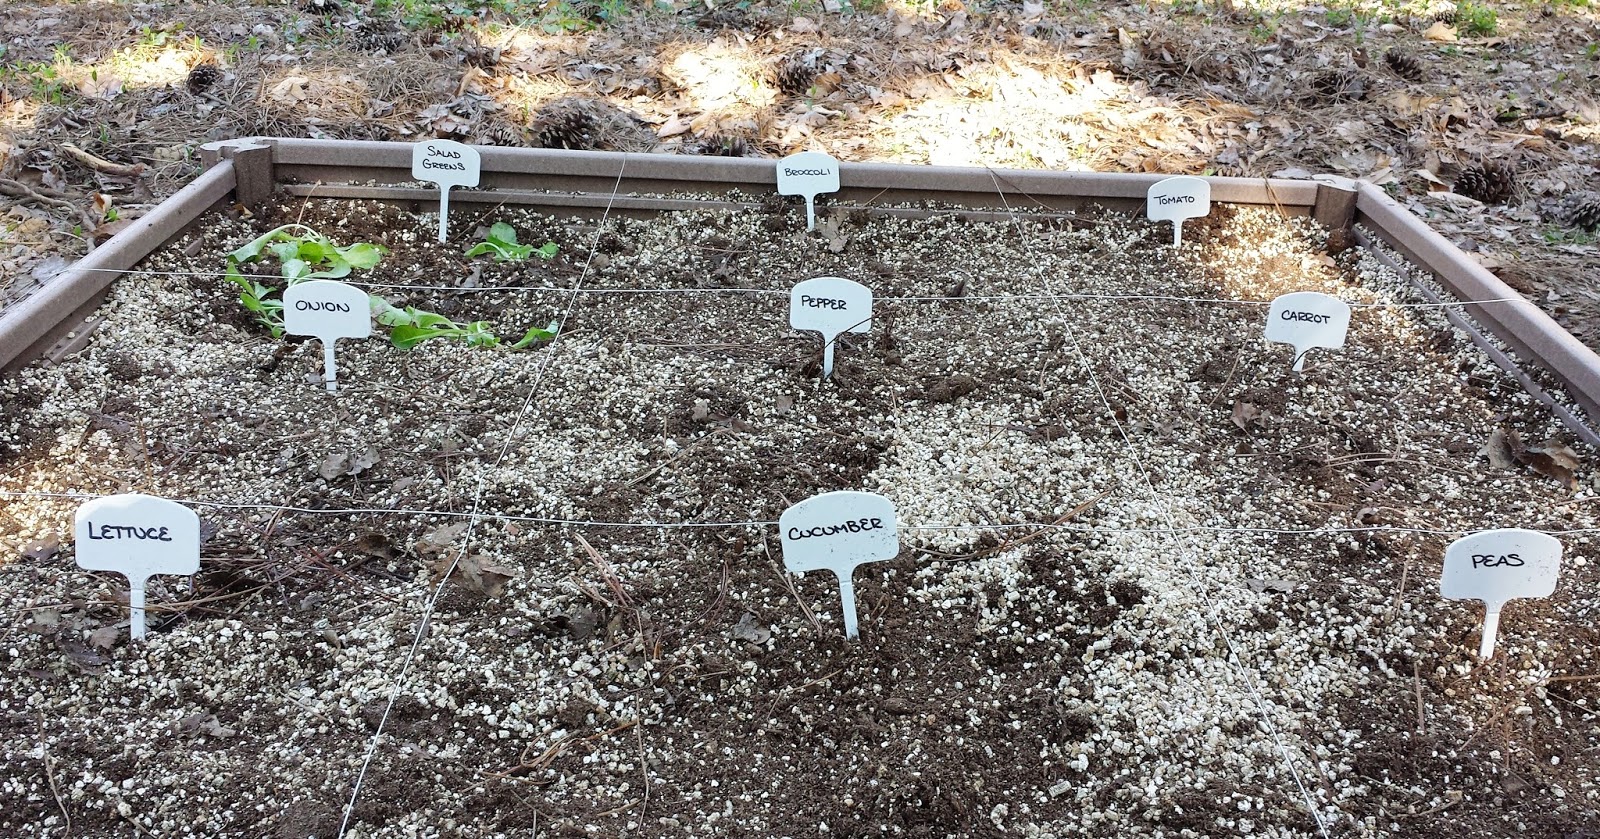
| Set-up of gardens with wire to divide each 3x3 |
 | ||
| First square foot garden |
 |
| Labels, knee pads, gloves, seeds for planting |
The photographs above show the lay out of each garden, complete with wire dividers, labels, and the soil mixture. Once the gardens were filled with the mixture, it really did not take all that long to plant the seeds.
 |
| Jalapeno plant (not from seed) |
It's been about two and a half weeks since I planted the first garden, one and a half weeks since the second. I check on them every day - I feel like a mother hen in that way. I noticed that some type of animal (squirrel, rabbit, our dog Deacon?) has been digging up my seeds! So, we put a fence and some netting around the gardens. You can definitely do this a cheaper way, but I like the look of the fence that we got. I had to replant some of the squares and I replaced corn with a jalapeno plant
 |
| Set up of both gardens with the fence and mesh netting |
 |
| Carrot seedlings |
This has been a great experience so far and I am happy that I can share it on this gardening blog. In the near future I plan to post about the herbs that we are growing on our deck (where they get plenty of sunlight) and we have already started making delicious pasta dishes using the basil.
=''=
First comment on your first post! I win!
ReplyDeleteGood luck with the garden, hope it grows well! (see what I did there? Instead of "goes well"? Yeah...)